Installing US Automatic Gate Openers: A Beginner's Guide
Have you ever wanted to install an automatic slide gate opener but felt unsure where to start? With US Automatic customer service, you don’t need to worry about complicated setups or hiring professionals. These systems are designed with DIY enthusiasts in mind, offering everything from adjustable mounting brackets to detailed, customized instructions. You’ll find the process straightforward and rewarding, especially with access to Sobot, the largest staff of factory-trained technicians in the country. Plus, Gate Crafters encourages you to take pride in your installation and enjoy the satisfaction of completing the project yourself.
Tools and Materials for Gate Opener Installation

When you’re ready to tackle your gate opener installation, having the right tools and materials on hand can make the process smooth and stress-free. Let’s break it down step by step so you know exactly what you’ll need.
Essential Tools for the Job
You don’t need a professional toolbox to get started, but a few basic tools are essential. Here’s a quick list:
- Power Drill: For drilling holes in metal or wood.
- Socket Wrench Set: To tighten bolts and screws securely.
- Screwdrivers: Both flathead and Phillips types.
- Measuring Tape: To ensure accurate placement of components.
- Level: To keep everything aligned properly.
- Wire Strippers: For cleanly preparing wires during the wiring process.
If you already have these tools, you’re off to a great start. If not, they’re easy to find at your local hardware store or online.
Components Included in the US Automatic Gate Opener Kit
The US Automatic gate opener kit comes with most of what you’ll need to install the system. Here’s what you can expect to find inside the box:
- Gate Opener Mechanism: This is the heart of the system, whether it’s an arm or chain mechanism.
- Mounting Brackets: Adjustable brackets for securing the opener to your gate.
- Control Box: Houses the electronics and wiring connections.
- Safety Sensors: These detect obstacles and prevent accidents.
- Remote Controls: For operating the gate from a distance.
- Instruction Manual: A detailed guide to walk you through the installation process.
Before you start, double-check that all components are included. Missing parts can delay your project.
Additional Materials You May Need
While the kit covers most of the essentials, a few extra materials might come in handy:
- Concrete Anchors: If you’re mounting the opener on a concrete surface.
- Extension Cords: For reaching distant power outlets.
- Weatherproof Sealant: To protect wiring and components from the elements.
- Zip Ties: For organizing and securing wires neatly.
These materials aren’t always necessary, but they can make your installation more durable and professional-looking.
Pro Tip: Organize all your tools and materials before starting. This saves time and prevents unnecessary frustration during the installation process.
By gathering the right tools and materials needed, you’ll set yourself up for a successful gate opener installation. With everything ready, you’re one step closer to enhancing your property’s security and convenience.
Unboxing and Preparing for Installation
Unboxing your US Automatic gate opener is an exciting first step. Taking the time to prepare properly will save you from unnecessary headaches later. Let’s dive into what you need to do before installation begins.
Inspecting the Package and Components
Start by carefully opening the package and laying out all the components. Check the contents against the list in the instruction manual. Look for the gate opener mechanism, mounting brackets, control box, safety sensors, and remote controls. If anything is missing or damaged, contact customer support immediately. A quick site inspection of your gate area can also help you confirm that you have everything needed for the job.
Tip: Keep the packaging intact until you’re sure all parts are accounted for. This makes returns or exchanges easier if needed.
Organizing Parts for Easy Access
Once you’ve confirmed that all components are present, organize them in a way that makes sense to you. Group similar items together, like screws, bolts, and brackets. Place smaller parts in a container or tray to avoid losing them. Lay out the larger components near your installation site for easy access.
This simple step can save you time and frustration. You won’t have to dig through a pile of parts while trying to hold a bracket in place or connect wires.
Understanding the Manufacturer's Instructions
Before you start installing, take a moment to read through the manufacturer’s instructions. These guidelines are your roadmap to a successful setup. For example, they’ll explain how to connect the main power wires to the control board terminals. They’ll also guide you on installing safety devices like photoeyes and safety edges. Follow these steps carefully to ensure everything works as it should.
Pro Tip: Don’t skip the alignment process for safety sensors. Use the alignment LEDs on the photoeye to confirm a clear line of sight with the reflector. Adjust and secure the reflector once aligned.
By inspecting, organizing, and understanding the instructions, you’ll set yourself up for a smooth installation process. Taking these steps now will make the rest of the project much easier.
Positioning and Mounting the Gate Opener
Proper positioning and mounting of your gate opener are critical for smooth operation and long-term reliability. By following these steps, you’ll ensure your system works efficiently and safely.
Choosing the Right Location for Installation
Selecting the best location for your gate opener is the foundation of a successful installation. Here are a few factors to consider:
- Evaluate how often you’ll use the gate and the type of gate you have (swing or sliding). Each type has unique requirements for positioning.
- Check the installation space. Look for a flat, stable surface and avoid areas prone to water pooling or flooding.
- Consider the weight of your gate. Heavier gates may require reinforced mounting or additional support.
- If your gate is on a slope, ensure the motor and mechanism can handle the incline without strain.
Tip: Preparing the concrete pad in advance can save time and provide a sturdy base for your gate opener. This is especially important for sliding gates or heavy-duty systems.
By carefully evaluating these factors, you’ll set the stage for a smooth installation process.
Securing the Mounting Brackets
Once you’ve chosen the right location, it’s time to secure the mounting brackets. These brackets hold the gate opener in place, so proper installation is essential. Follow these steps:
- Mark the exact spots where the brackets will be attached. Use a measuring tape and level to ensure accuracy.
- Drill holes into the gate or post at the marked locations. If you’re mounting on concrete, use concrete anchors for added stability.
- Attach the brackets using bolts or screws provided in the kit. Tighten them securely with a socket wrench to prevent movement.
Pro Tip: Double-check the alignment of the brackets before tightening them completely. Misaligned brackets can cause the gate opener to operate unevenly.
Taking the time to secure the brackets properly will prevent unnecessary wear and tear on your system.
Aligning the Gate Opener for Optimal Performance
Alignment is key to ensuring your gate opener operates smoothly and safely. Here’s how to get it right:
- Match the gate opener’s specifications to your gate’s size and weight. This ensures the motor can handle the load without overworking.
- Maintain adequate clearance between the gate and nearby structures. For swing gates, leave enough space to prevent entrapment risks.
- Install safety devices like sensors and warning signs as outlined in the manufacturer’s instructions. These features protect users and comply with safety standards like UL 325.
- Position the control box at least six feet away from the gate to avoid accidental reach-through incidents.
Note: Proper alignment isn’t just about performance—it’s also a safety measure. Misaligned gates can cause accidents or damage the opener over time.
By carefully aligning your gate opener, you’ll enjoy reliable performance and peace of mind knowing your system is safe to use.
Setting Up the Mechanism and Wiring
Once your gate opener is positioned and mounted, it’s time to set up the mechanism and wiring. This step ensures your system operates smoothly and safely. Let’s break it down into manageable parts.
Installing the Arm or Chain Mechanism
The arm or chain mechanism is the driving force behind your gate opener. Installing it correctly is crucial for smooth operation. Follow these steps to get it right:
- Attach the Mechanism to the Gate: Secure the arm or chain to the gate using the provided hardware. Make sure it’s firmly attached to prevent any wobbling during operation.
- Connect to the Motor: Attach the other end of the mechanism to the motor. Double-check that the connection is tight and aligned with the gate’s movement.
- Test the Range of Motion: Manually move the gate to ensure the mechanism doesn’t bind or strain. Adjust the alignment if needed.
To highlight the effectiveness of proper installation, consider this data:
| Location | Reduction in Violations (%) | Notes |
|---|---|---|
| Los Angeles | 94% | Four-quadrant gates tested for 6 months |
| North Carolina | 86% | Four-quadrant gates alone |
| North Carolina | 94% | Four-quadrant gates with median treatment |
This table shows how well-installed mechanisms can significantly improve gate performance and safety.
Tip: Use a level to ensure the arm or chain is perfectly horizontal. Misalignment can cause unnecessary wear and tear.
Wiring the Gate Opener to the Power Source
Wiring your gate opener to the power supply is a critical step. It ensures your system has the energy it needs to function reliably. Here’s how to do it safely:
- Choose the Right Wire: Use low-voltage wiring, such as 16-gauge or larger stranded two-conductor wire. This type of wire can run up to 1,000 feet and operates at less than 20 volts, reducing electrical risks.
- Connect to the Control Box: Follow the manufacturer’s instructions to connect the wires to the control box. Ensure the connections are secure and free from corrosion.
- Protect the Wiring: Use weatherproof sealant or conduit to shield the wires from moisture and damage.
The US Automatic system includes a built-in charging circuit to prevent overcharging, adding an extra layer of safety. Always double-check your connections before powering up the system.
Pro Tip: Avoid running wires near sharp edges or moving parts. This prevents accidental cuts or wear over time.
Ensuring Proper Alignment and Connection
Proper alignment and secure connections are essential for your gate opener to work efficiently. Here’s what to focus on:
- Align the Mechanism: Ensure the arm or chain is straight and parallel to the gate. Misalignment can cause the motor to overwork, leading to premature wear.
- Check the Safety Sensors: Align the safety sensors so they have a clear line of sight. Use the alignment LEDs on the sensors to confirm proper positioning.
- Secure All Connections: Tighten all bolts, screws, and wiring connections. Loose components can lead to operational issues or safety hazards.
Note: Regularly inspect your system after installation to ensure everything remains aligned and secure. This simple maintenance step can extend the life of your gate opener.
By carefully setting up the mechanism and wiring, you’ll ensure your gate opener installation is both safe and efficient. With these steps complete, your system is ready for the final touches, including safety features and testing.
Installing Safety Features and Testing the System
Safety is a top priority when setting up your gate opener. By installing the right safety devices and thoroughly testing the system, you can ensure smooth and secure operation for years to come.
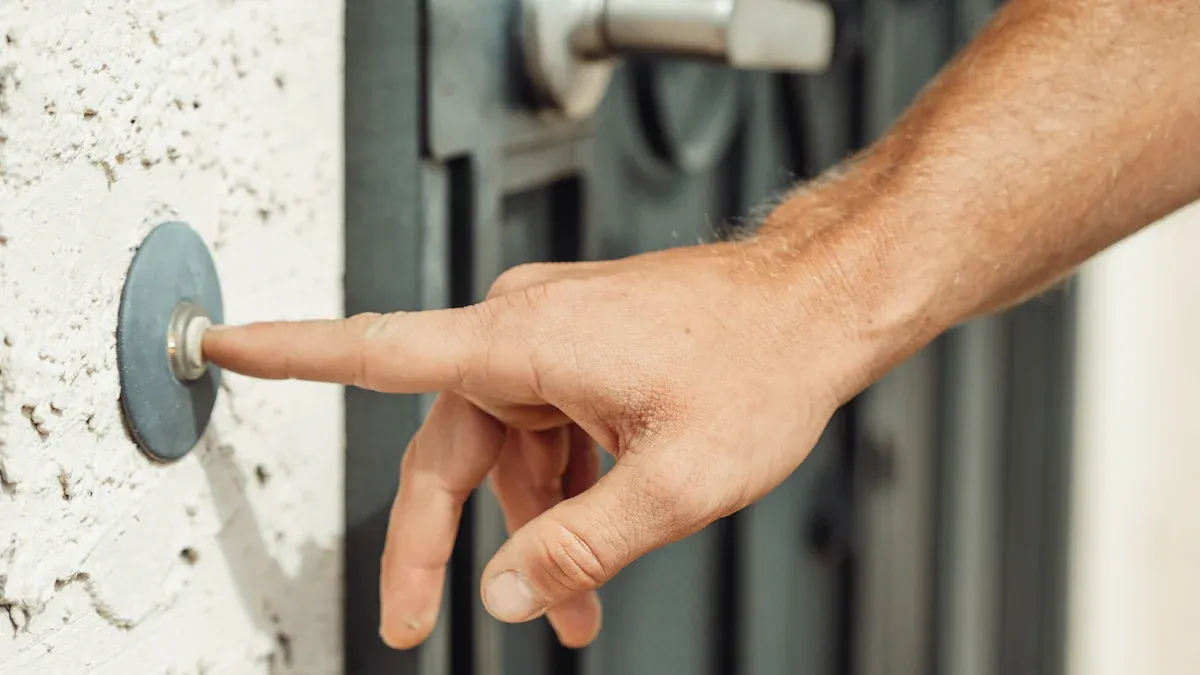
Adding Safety Sensors and Warning Signs
Safety sensors, like the photoeye, are essential for preventing accidents. Installing the photoeye ensures the gate stops or reverses if it detects an obstacle. Here’s how you can do it:
- Mount the photoeye sensors on either side of the gate. Position them at a height where they can detect objects like vehicles or pets.
- Align the sensors so they have a clear line of sight. Use the alignment LEDs to confirm proper positioning.
- Secure the sensors with the provided hardware and test their functionality by placing an object in their path.
Adding warning signs is another important step. These signs alert users to the presence of an automatic gate, reducing the risk of misuse. Place them in visible areas near the gate.
Tip: Regularly check the alignment of your safety sensors. Misaligned sensors can compromise their effectiveness.
Testing the Gate Opener for Smooth Operation
Once the safety devices are installed, it’s time to test and adjust the system. Start by opening and closing the gate a few times. Pay attention to how smoothly it operates. If you notice any jerking or unusual noises, inspect the mechanism for alignment issues.
During testing, focus on the safety features. Trigger the photoeye by placing an object in its path. The gate should stop or reverse immediately. This step ensures the safety devices are working as intended.
Pro Tip: Perform testing the safety devices regularly, especially after storms or heavy use. This keeps your system reliable and safe.
Troubleshooting Common Issues
Even with proper installation, you might encounter minor issues. Here’s a quick guide to resolving them:
| Documented Procedure | Impact on Resolution Rates |
|---|---|
| Use of wall cups | Increases stability and reduces push-out incidents |
| Warning labels | Enhances consumer awareness for correct installation |
For example, if the gate doesn’t close fully, check the alignment of the arm or chain mechanism. If the gate opener doesn’t respond to the remote, inspect the wiring connections and battery levels.
Note: Keep the instruction manual handy. It’s a valuable resource for troubleshooting and maintaining your gate opener.
By installing the photoeye, testing the safety devices, and addressing common issues, you’ll ensure your gate opener operates safely and efficiently. A little attention to detail now can save you time and hassle later.
Optional Accessories for Enhanced Functionality
Enhancing your US Automatic gate opener with optional accessories can take your system to the next level. These add-ons improve convenience, security, and energy efficiency, making your gate opener even more user-friendly.
Adding Remote Controls or Keypads
Remote controls and keypads are game-changers for gate opener functionality. A remote control lets you open and close your gate without stepping out of your car. Keypads, on the other hand, provide secure access with unique codes. You can even set temporary codes for visitors or deliveries.
Here’s a quick comparison of features and benefits:
| Feature | Benefit |
|---|---|
| Keypads | Provide secure access control with unique codes and wireless connectivity. |
| Remote Controls | Enable effortless operation from a distance, enhancing convenience. |
| Intercom Systems | Improve communication and allow for remote access control. |
| Smartphone Integration | Offers real-time control and can integrate with smart home systems. |
Adding these accessories not only boosts convenience but also enhances security. Imagine never having to fumble with keys or worry about unauthorized access again.
Installing Solar Panels for Energy Efficiency
If you’re looking for an eco-friendly option, solar panels are a fantastic addition. They harness sunlight to power your gate opener, reducing your reliance on electricity. This is especially useful if your gate is far from a power source. Plus, solar panels can lower your energy bills over time.
US Automatic gate openers are designed to work seamlessly with solar panels. The built-in charging circuit ensures your system stays powered, even on cloudy days. By choosing solar energy, you’re not just saving money—you’re also helping the environment.
Tip: Position the solar panel in a spot that gets maximum sunlight throughout the day for optimal performance.
Integrating Smart Home Features
Smart home integration takes your gate opener to a whole new level. By connecting your system to a smart home hub, you can control your gate using your smartphone or voice commands. Imagine saying, “Open the gate,” and watching it respond instantly.
Many US Automatic gate openers are compatible with smart home systems like Alexa or Google Home. This feature allows you to monitor and control your gate remotely, whether you’re at home or miles away. You can even receive notifications when the gate is opened or closed.
Pro Tip: Pair your gate opener with a smart camera for added security. This way, you can see who’s at your gate before granting access.
By adding these optional accessories, you’ll transform your gate opener into a high-tech, energy-efficient system that fits seamlessly into your lifestyle.
Installing a US Automatic gate opener is easier than you might think. With the right tools and guidance, you can complete the project confidently. If you run into issues, don’t hesitate to reach out to us automatic customer service. Their team offers expert advice and troubleshooting to ensure your system works perfectly.
Here’s a quick look at the services they provide:
| Service Type | Description |
|---|---|
| OpenText Consulting Services | Helps organizations achieve business objectives and maximize ROI through personalized strategic advice. |
| Implementation and Integration | Guides organizations through project lifecycle with industry-skilled consultants. |
| Verint Onboarding Services | Facilitates smooth application implementation with expert planning and integration. |
| Verint AdviceLine | Provides quick guidance on operational questions through one-on-one sessions with experienced consultants. |
By following the steps in this guide and consulting us automatic customer service when needed, you’ll ensure a safe and efficient installation.
Tip: Always prioritize safety during installation and testing.
FAQ
What type of gate works best with a US Automatic gate opener?
US Automatic gate openers work with both swing and sliding gates. Choose based on your property layout. Swing gates are ideal for flat areas, while sliding gates suit sloped driveways or limited space.
Tip: Check your gate’s weight and size to ensure compatibility with the opener.
Can I install the gate opener without professional help?
Yes, you can! US Automatic designs their systems for DIY installation. The detailed manual and included hardware make it beginner-friendly. Just follow the steps carefully and take your time.
Pro Tip: Watch online tutorials for extra guidance if you’re unsure about any step.
How do I maintain my gate opener after installation?
Regular maintenance keeps your gate opener running smoothly. Clean the mechanism, check for loose bolts, and test safety sensors monthly. Lubricate moving parts as needed.
Note: Always disconnect the power before performing maintenance to avoid accidents.
Are US Automatic gate openers weatherproof?
Yes, they are built to withstand various weather conditions. However, using weatherproof sealant on wiring and protecting the control box from direct exposure can extend its lifespan.
Tip: Install the control box in a shaded or covered area for added protection.
What should I do if my gate opener stops working?
First, check the power supply and wiring connections. Inspect the safety sensors for alignment issues. If the problem persists, consult the troubleshooting section in the manual or contact US Automatic customer service.
Pro Tip: Keep the instruction manual handy for quick reference during troubleshooting.
See Also
Essential Steps for Setting Up IVR Software Effectively
Expert Tips for Enhancing Live Chat Customer Support
How to Select the Most Effective Chatbot Software
A Comprehensive Approach to Omnichannel Contact Center Setup